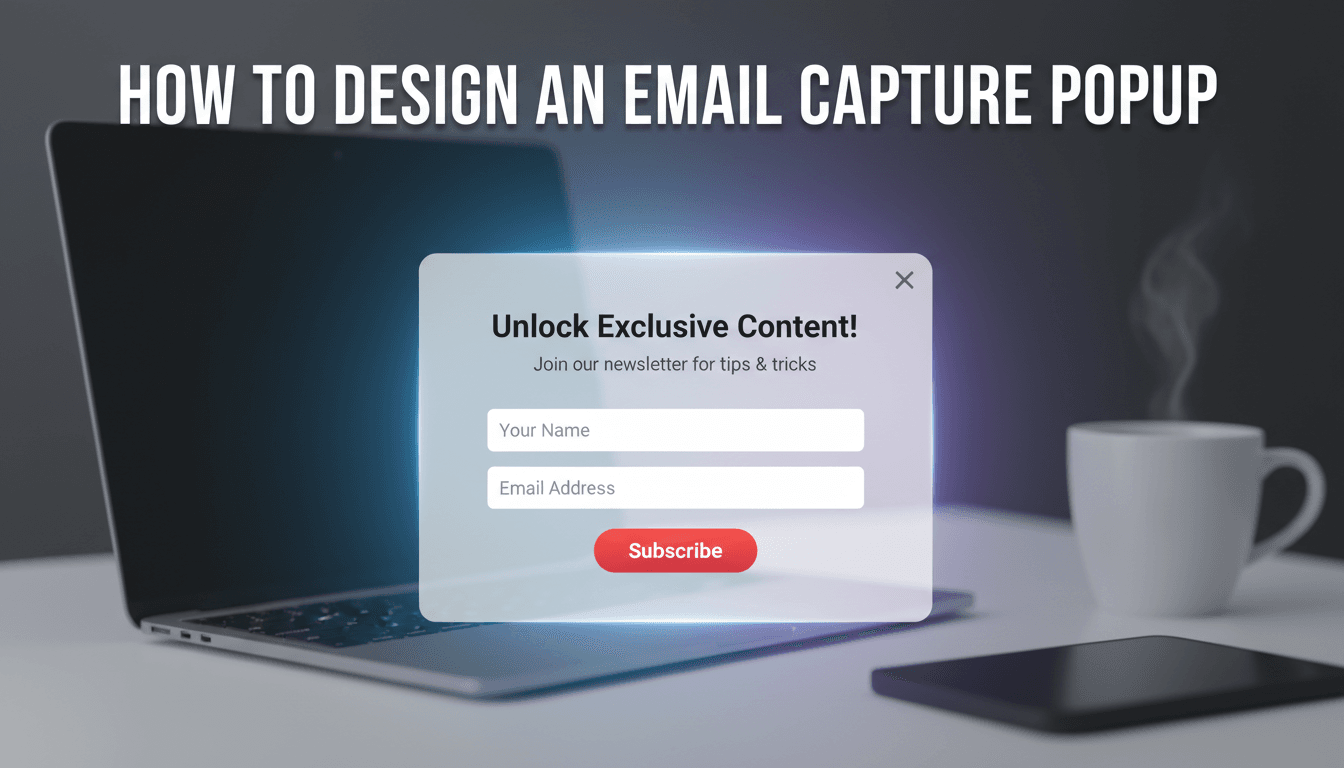
How to design an email capture popup
An email capture popup is one of the most effective ways to turn casual browsers into repeat customers. By offering a small incentive—like a discount code or a helpful guide—you can grow your mailing list and drive more sales through email marketing.
How to design your popup
WooShop uses Kadence Conversions to make building popups simple. You don’t need to write any code; you just use the block editor you’re already familiar with.
Create a new conversion item
From your WordPress dashboard, go to Kadence Conversions > All Conversions and click Add New. You will be prompted to choose a starting point; select the Popup option.Pick a template
A library of pre-made designs will appear. Choose one that closely matches your goal (like a simple newsletter sign-up or a discount offer). Click to import it.Customize the design
Click on any text or image to edit it directly. You can change the background colors, fonts, and button styles in the Block Settings on the right side of the screen. Keep your message short and your call-to-action (CTA) clear.Connect your email service
Click on the form within the popup. In the settings panel, look for Actions After Submit. This is where you connect the form to your email provider (like MailerLite, Mailchimp, or FluentRoad). Make sure to map the "Email" field correctly so the data saves to your list.Set the display triggers
In the Conversion Settings (the graph icon in the top right), decide when the popup should appear. Common choices include:- Time Delay: Shows after the user has been on the page for a few seconds.
- Exit Intent: Triggers when a user moves their mouse toward the "close" button of the browser.
- Scroll Distance: Displays after the user has read a certain percentage of the page.
Choose where it shows
Under Display Settings, you can choose to show the popup on your entire site or only on specific pages, like your shop or blog posts. You can also set it to hide for users who have already seen it or signed up.- Publish
Once you are happy with the look and the settings, click Publish. View your site in an incognito window to test how the popup looks and behaves.
Practical scenarios
- The First-Purchase Discount: Offer a "10% off your first order" coupon in exchange for an email address. This is highly effective for new WooCommerce stores.
- The Abandonment Save: Use an "Exit Intent" trigger on the checkout page to offer a free shipping code if the customer stays to complete their order.
- The Newsletter Sign-up: Place a simple popup on your blog pages asking readers to subscribe for weekly updates or industry news.
Troubleshooting common issues
The popup isn’t appearing
Check your Display Settings. If you have set it to "Show once per day," and you have already seen it, it won’t show again until you clear your browser cookies. Also, ensure the status is set to Published and not Draft.
It looks messy on mobile
In the Kadence block editor, click the Mobile icon at the top of the screen to see the mobile view. You may need to reduce font sizes or padding specifically for mobile devices to ensure the "Close" button is easy to tap.
Emails aren’t being added to my list
Double-check your API key connection in the form settings. If the connection is active, ensure the "Form Fields" in Kadence match the "Fields" in your email marketing software.
Summary
Building an email capture popup is a straightforward process of choosing a template, styling it to match your brand, and setting a trigger. Start with a simple design and a clear offer to see the best results.
Related resources:
- Setting up your email marketing integration
- Creating a "Thank You" page for new subscribers
- How to use coupon codes in WooCommerce