
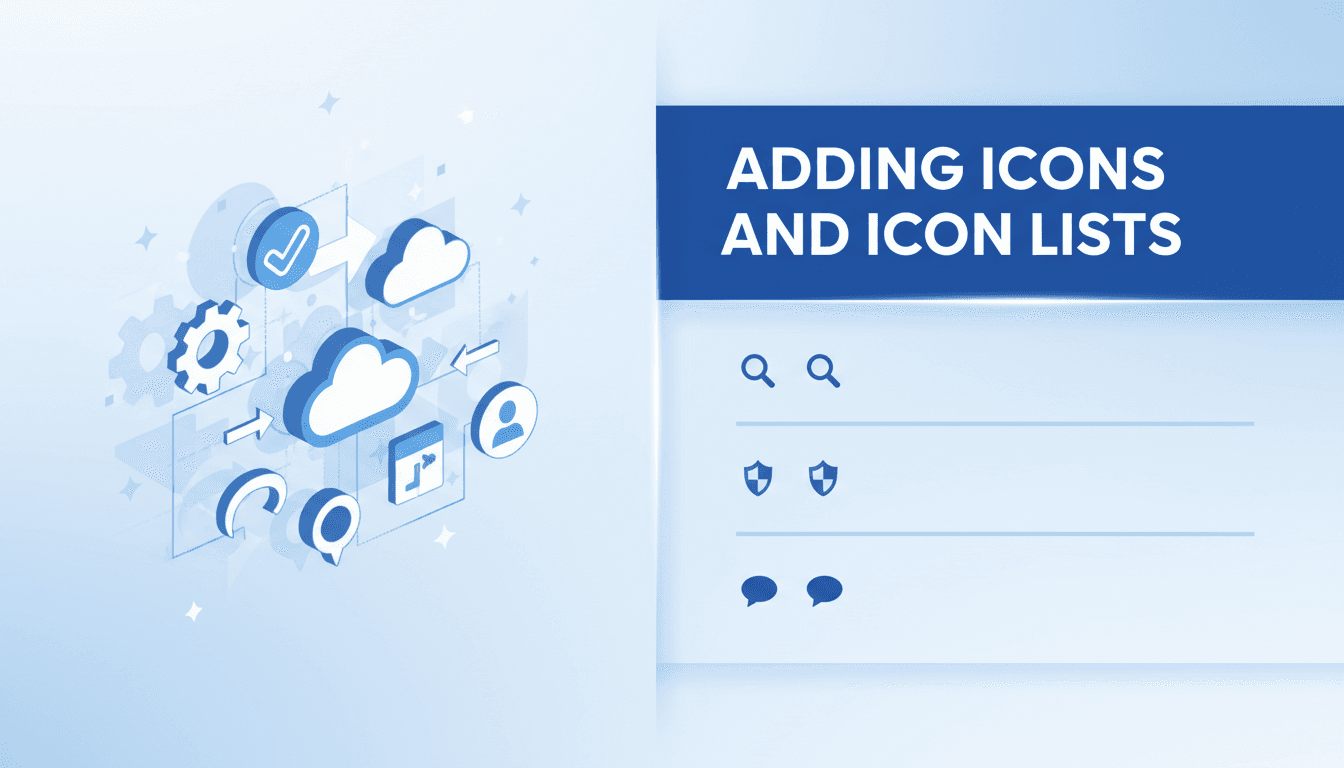
Adding icons and icon lists
Icons help your customers scan your shop and find information quickly. Instead of plain bullet points, icon lists highlight your product’s key features or your shop’s policies in a way that feels professional and easy to read.
How to add an Icon List
Most of the time, you’ll want to use an Icon List rather than a single icon. This keeps your layout organized and ensures all your bullet points align perfectly.
- Open the page or product description where you want to add the list.
- Click the (+) Block Inserter icon in the top left or type
/icondirectly into a new paragraph. - Select the Icon List block (look for the Kadence logo).
- Type your first list item. Press Enter to start a new line with a new icon.
- To change the icon for the whole list, look at the Block Settings in the right-hand sidebar. Click on the icon image to open the library and search for a new one (like a checkmark, star, or arrow).
- Use the Style tab in the sidebar to adjust the color and size of the icons to match your brand.
How to add a single Icon
If you just need one icon—for example, a phone icon next to your contact number—follow these steps:
- Click the (+) Block Inserter and search for Icon.
- Choose the Icon block.
- Click the default icon on your page to open the icon picker.
- In the sidebar, you can adjust the size, color, and padding.
- If you want the icon to lead to another page, use the Link Settings in the sidebar to paste your URL.
Practical ways to use icons
- Product Pages: Create an icon list showing "Free Shipping," "2-Year Warranty," and "Eco-Friendly Materials."
- Restaurant Menus: Use specific icons next to menu items to indicate "Spicy," "Vegan," or "Gluten-Free."
- Contact Sections: Use a single icon for your phone, email, and physical address to help them stand out from the text.
- Service Features: If you offer coaching or consultations, list what’s included (e.g., "1-on-1 Zoom Call," "PDF Workbook") using a consistent checkmark icon.
Troubleshooting common issues
The icons are too close to the text
Select the Icon List block and look at the Styles tab in the sidebar. Increase the "Icon Margin" or "List Item Spacing" to give the text more breathing room.
I changed the icon, but it only changed for one line
If you select an individual list item, changes only apply to that line. To change every icon in the list at once, make sure you have the parent Icon List block selected (use the List View in the top toolbar if you’re having trouble clicking it).
The icons look blurry
Because WooShop uses SVG icons via Kadence, they should stay sharp at any size. If they look "off," check that you haven’t set the "Icon Border" to be too thick, which can distort the shape.
Quick Recap
Icons and icon lists turn walls of text into readable, professional sections. Use the sidebar settings to control colors and spacing so they match your site’s design.
Next steps to explore:
- Styling buttons for your shop
- Using rows and columns for better layouts
- Adding images to your product gallery


