How to use masonry and advanced gallery styles
Standard photo galleries often force your images into rigid, identical squares. Masonry and advanced styles allow your photos to keep their natural proportions while fitting together like a puzzle. This creates a professional, editorial look for your product showcases, menus, or portfolio pages without needing a designer.
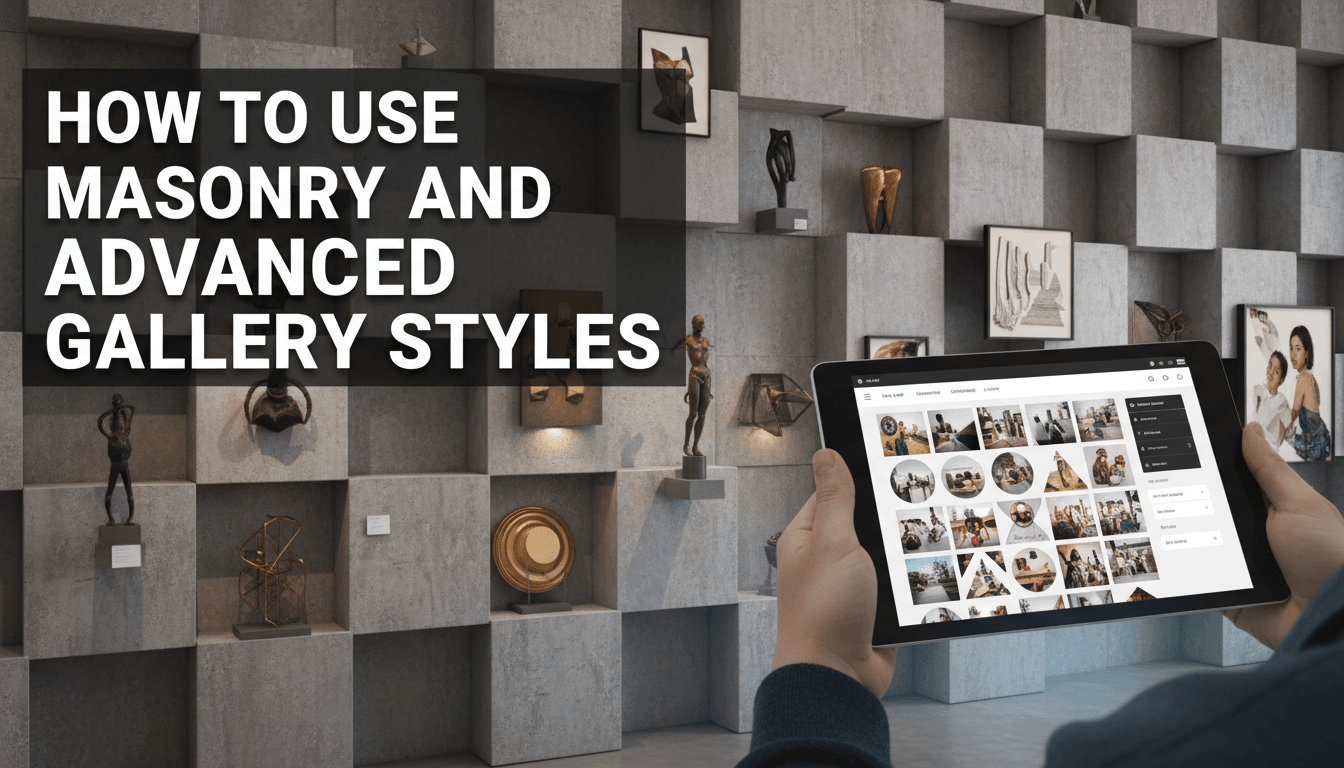
How to set up an Advanced Gallery
- Open the page or post where you want the gallery to appear.
- Click the + icon or type
/galleryand select the Advanced Gallery block (look for the blue Kadence icon). - Upload your images or select existing ones from your Media Library.
- Once the images load, look at the Gallery Settings in the right-hand sidebar.
- Under the Layout dropdown, select Masonry. You will immediately see the images shift to fit into natural columns.
- Adjust the Columns slider. For most websites, 3 columns work best on desktop and 1 or 2 on mobile.
- Fine-tune the Gutter setting to control the spacing between your photos. A gutter of 10px to 20px is standard.
Customizing the look and feel
Beyond the masonry layout, you can add functional details to improve the user experience:
- Enable Lightbox: Under the Link To setting, choose Media File. Then, toggle the Enable Lightbox switch. This allows customers to click a photo to see a full-screen version.
- Captions: If you want to show names or prices, toggle Show Captions. You can set these to appear always or only when someone hovers over the image.
- Image Ratio: If you prefer a cleaner look but don’t want masonry, try the Grid layout and set a specific Image Ratio (like 3:2 or 1:1) to make every photo uniform automatically.
Practical uses for your shop
- Restaurant Menus: Use a masonry gallery to show off high-quality food photography. Since some dishes look better in vertical shots and others in horizontal, masonry handles the mix perfectly.
- Lifestyle Lookbooks: If you sell clothing or home decor, use an advanced gallery to show your products "in the wild." The staggered layout feels more like a magazine than a shop grid.
- Customer Reviews: Take screenshots of social media mentions or customer-submitted photos and group them together to build social proof.
Troubleshooting common issues
Images look blurry
Check the Image Size setting in the sidebar. If it is set to "Thumbnail," your images will look pixelated. Switch it to "Large" or "Full" for crisp results.
The layout looks messy
Masonry works best when you have at least 5–6 images of varying heights. If you only have three images that are all the same size, the masonry effect won’t be noticeable.
Page is loading slowly
Large galleries can slow down your site. Ensure your images are resized for the web (usually under 200kb each) before uploading them to your Media Library.
Captions are cutting off
If your captions are long, change the caption style to "Below Image" instead of "Overlay" to ensure the text has enough room to breathe.
Summary
Advanced galleries give you control over how your brand is perceived visually. By using the masonry layout and enabling lightboxes, you create an interactive experience that keeps visitors on your page longer.
Related topics:
- How to optimize images for faster loading
- Adding a product gallery to a custom landing page
- Using the Kadence Row Layout for better spacing