Add Custom Image Sizes Into WordPress Media Library
In a previous article we have posted about how you can define new custom image sizes to use on your WordPress theme and how to remove default image sizes. You can define and add custom image sizes with the help of add_image_size() function in WordPress. In this article we will show you how you can add these pre-defined custom image sizes to media library upload panel so that you can choose from all available image sizes instead of only standard thumbnail, medium, large and full sizes.
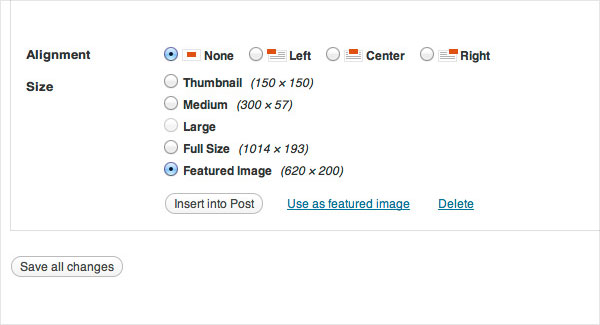
We want the content editor to be able to select these new sizes when adding an image into the post, by default when using add_image_size() these custom image sizes won’t appear when inserting into the post. For this we need to use the filter image_size_name_choose and make sure we add the custom image sizes into the size array. Adding the new custom image sizes into this array will make sure that the editor can pick these new sizes and that the images will still fit the design of the theme.
Simply add the following WordPress code snippet into your theme’s functions.php file to allow the editors to choose these new sizes.
// add custom image sizes into wordpress media library
function display_custom_image_sizes( $sizes ) {
    global $_wp_additional_image_sizes;
    if ( empty( $_wp_additional_image_sizes ) )
        return $sizes;

    foreach ( $_wp_additional_image_sizes as $id => $data ) {
        if ( !isset($sizes[$id]) )
            $sizes[$id] = ucfirst( str_replace( '-', ' ', $id ) );
    }

    return $sizes;
}
add_filter( 'image_size_names_choose', 'display_custom_image_sizes' );


