How to set up product add-ons for toppings
Product add-ons allow customers to personalize their orders by choosing extras like extra toppings, gift wrapping, or custom engravings. Instead of creating a separate product for every variation, you can offer these choices directly on the product page. This makes it easier for customers to get exactly what they want and helps you increase your average order value.
Steps to set up product add-ons
- Open your product: Log in to your WooShop dashboard and go to Products > All Products. Click on the product you want to edit.
- Locate the Add-ons tab: Scroll down to the Product Data box (where you usually set the price). On the left-hand menu, click the Add-ons tab.
- Add a new field: Click the Add Field button. This creates a group for your options. Give it a clear title, such as "Choose Your Toppings" or "Select Extras."
- Choose the display type: Select how you want the options to look:
- Checkboxes: Best for multiple choices (e.g., extra bacon AND extra cheese).
- Radio Buttons: Best for choosing only one option (e.g., small, medium, or large size).
- Drop Down: Best for long lists to save space on the page.
- Enter your options: Click Add Option. Enter the name of the topping and the price. If the topping is free, leave the price at 0. You can choose whether the price is a flat fee or charged per item quantity.
- Set requirements: If the customer must choose an option to add the item to their cart, check the Required field box.
- Save and Update: Click the Update button on the top right of your product page to save your changes.
Practical examples
- Pizza Shop: Use checkboxes for toppings like pepperoni, mushrooms, and olives. Since customers often pick more than one, checkboxes allow them to select their favorites individually.
- Florist: Use a radio button for "Select Vase Style" so the customer can pick one specific container for their bouquet.
- Coffee Shop: Use a "Short Text" field for "Special Instructions" so customers can tell you if they want their milk extra hot or want to add a name to the cup.
Troubleshooting common issues
- Prices aren’t adding up: If the extra charge isn’t showing in the cart, double-check that you entered a numerical value in the price field without any currency symbols (e.g., enter
1.50, not$1.50). - The layout looks cluttered: If you have 20+ toppings, checkboxes can make the product page look very long. Switch the display type to a Drop Down to keep the page clean.
- Add-ons not showing at all: Ensure you have clicked "Update" on the product page. If they still don’t appear, check if you have any caching plugins active and clear your site cache.
- Wrong price type: If you want a one-time fee regardless of how many items the customer buys, select Flat Fee. If you want the topping price to multiply by the number of products ordered, select Quantity Based.
Quick Recap
Setting up add-ons is the most efficient way to handle customizations. By using the Add-ons tab in your product settings, you can create a menu of choices that automatically updates the total price for the customer.
Related topics:
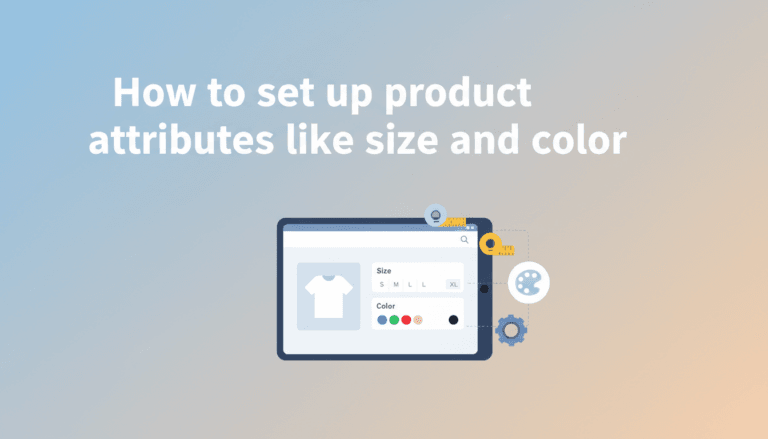
- How to set up product variations for sizes and colors
- Managing your WooCommerce inventory
- Customizing your product page layout with Kadence AI