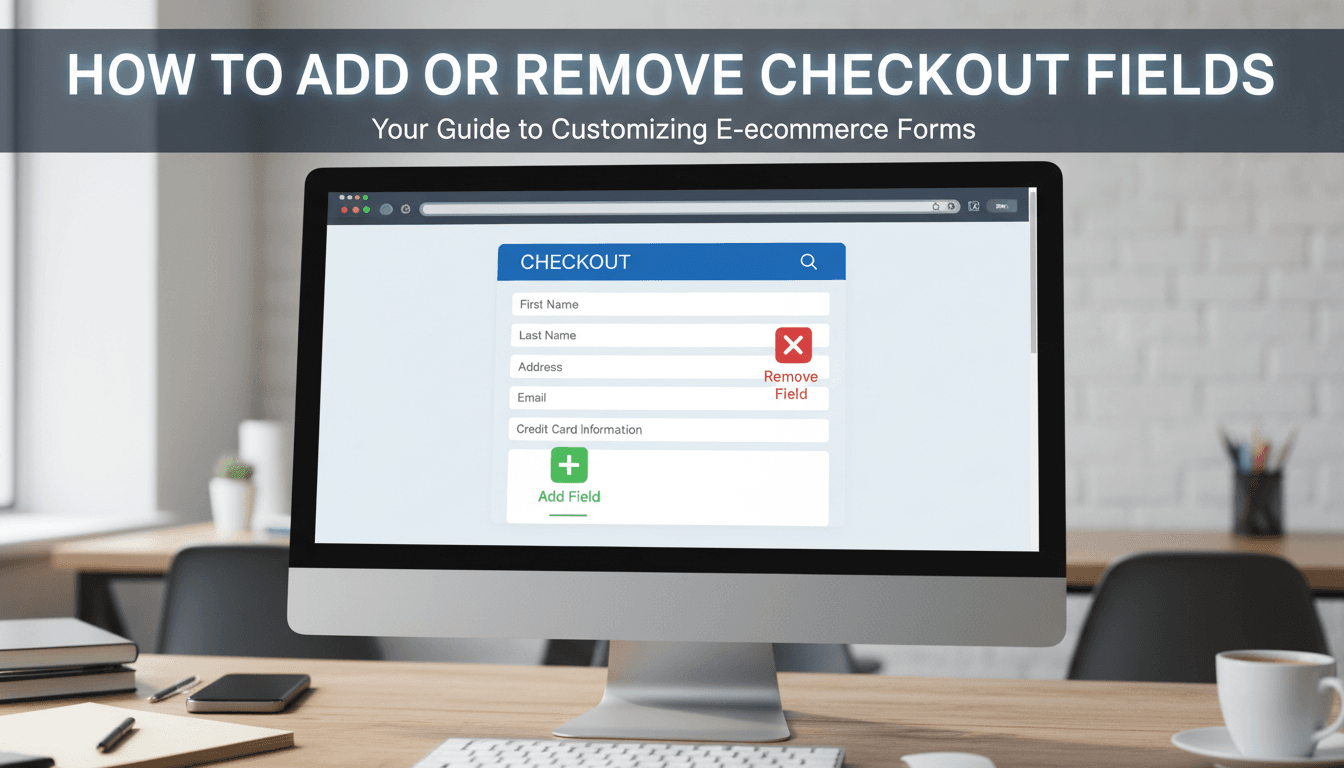
How to add or remove checkout fields
A clean checkout process reduces friction and helps customers finish their purchase faster. By default, WooCommerce asks for a lot of information—like phone numbers or company names—that you might not actually need. Customizing these fields allows you to remove unnecessary steps or collect specific details like gift messages or gate codes.
How to edit your checkout form
WooShop includes a built-in checkout editor to make these changes without touching any code.
- Log in to your WooShop Dashboard.
- In the left-hand menu, go to WooCommerce and select Checkout Form.
- You will see three tabs: Billing fields, Shipping fields, and Additional fields.
- To remove a field: Find the row you want to hide and uncheck the box in the "Enabled" column. You can also select the checkbox next to the field name and click Disable.
- To add a new field: Click the + Add field button.
- Type: Choose if it’s a text box, a checkbox, or a dropdown menu.
- Name: Give it a unique internal name (e.g.,
delivery_notes). - Label: Write what the customer will see (e.g., "Where should we leave your package?").
- To change the order: Click and drag the three-line icon on the left side of any row to move it up or down.
- Click Save Changes at the bottom of the page.
Practical scenarios
- Selling digital products: If you only sell downloads, you don’t need a shipping address. Disable all shipping fields and the "Phone Number" field to make the checkout take seconds.
- Restaurant or Local Delivery: Add an "Additional Field" for "Gate Code" or "Special Delivery Instructions" to ensure your drivers have the info they need.
- Business-to-Business (B2B): Make the "Company Name" field required instead of optional to ensure your invoicing is accurate.
Troubleshooting common issues
The checkout page is showing an error when customers try to pay
This usually happens if you disabled a field that WooCommerce still considers "Required." Go back to the Checkout Form settings and ensure that if a field is disabled, the "Required" box is also unchecked.
Changes aren’t appearing on the live site
If you have saved your changes but the checkout looks the same, try clearing your browser cache or your site’s performance cache. Sometimes the old version of the page is stored to make the site load faster.
The new field isn’t showing up in orders
Custom fields usually appear in the "Order Details" section of your WooCommerce admin. If you added a field under "Additional Fields," it will show up in the right-hand sidebar when you view an individual order.
Summary
Customizing your checkout is about balance. Only ask for the information you absolutely need to fulfill the order. This keeps the process quick for the customer and organized for you.
Related topics:
- How to set up flat-rate shipping
- Managing your WooCommerce tax settings
- Customizing the "Thank You" page with Kadence AI