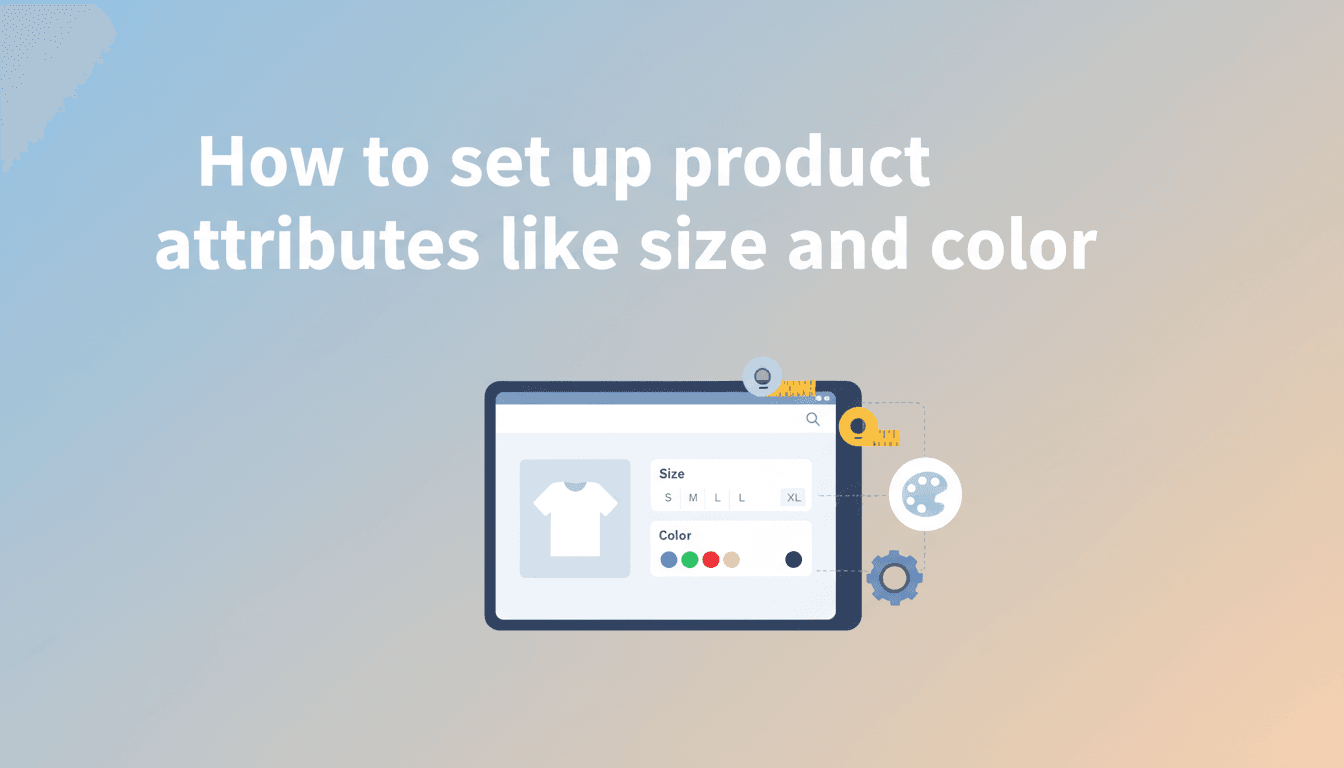
How to set up product attributes like size and color
Product attributes add structure to your shop. They allow you to define specific details like size, color, or material, making it easier for customers to filter products and find exactly what they are looking for. These attributes also serve as the foundation for creating product variations, such as a t-shirt that comes in both Small and Large.
How to create and apply attributes
Follow these steps to set up attributes that you can use across your entire store.
- Create the attribute label
In your WordPress dashboard, go to Products > Attributes. In the "Name" field, type the attribute you need (e.g., Color or Size). Click Add attribute. - Add the options (Terms)
Once your attribute appears in the list on the right, click Configure terms. This is where you add the specific options. For a "Color" attribute, you would type "Blue," click add, then "Red," and so on. - Apply attributes to a product
Go to Products > All Products and open the item you want to edit. Scroll down to the Product Data box and click the Attributes tab. - Select your attribute
In the dropdown menu, choose the attribute you just created (e.g., Size) and click Add. - Assign specific terms
Click into the "Value(s)" box. You can select individual terms or click Select all if the product comes in every size or color you’ve created. - Save your changes
Check the box for Visible on the product page if you want these details listed in the "Additional Information" tab. Click Save attributes and then Update your product.
Practical scenarios
- Clothing Store: You create a global attribute for "Size" with terms for XS, S, M, L, and XL. You apply these to all your shirts so customers can use a sidebar filter to find only "Medium" shirts.
- Coffee Roaster: You create an attribute for "Grind Type." The terms include Whole Bean, Drip, and Espresso. This helps customers quickly see how the coffee can be prepared.
- Art Shop: You use an attribute called "Frame Material" with terms for Wood, Metal, and Gallery Wrap.
Troubleshooting
The attribute isn’t appearing on the storefront
Ensure you have clicked Save attributes inside the product data box AND clicked the blue Update button on the main product page. Also, verify that you have added "Terms" to the attribute; an attribute with no values won’t show up.
I want customers to select the attribute from a menu
If you want a dropdown for customers to choose an option (like picking a size before adding to cart), you must change the Product Data type from "Simple product" to "Variable product" at the top of the product data box. Then, ensure "Used for variations" is checked in the Attributes tab.
Duplicate attributes are showing up
This usually happens if you create "Custom product attributes" on individual product pages instead of using the global attributes under Products > Attributes. Stick to global attributes to keep your shop organized and your filters working correctly.
Summary recap
Setting up attributes involves defining a category (like Size), adding its options (Small, Large), and attaching them to your products. This keeps your data clean and helps your customers navigate your shop.
Next steps to consider:
- Setting up variable products for different prices
- Customizing your Kadence shop layout
- Adding product filters to your sidebar