Description
Notification Bar Plugin


Notification Bar Plugin Allows you to add a cool notify bar to your WordPress website. This plugins gives you an additional extended message feature which you can control by settings in the backend.
Features
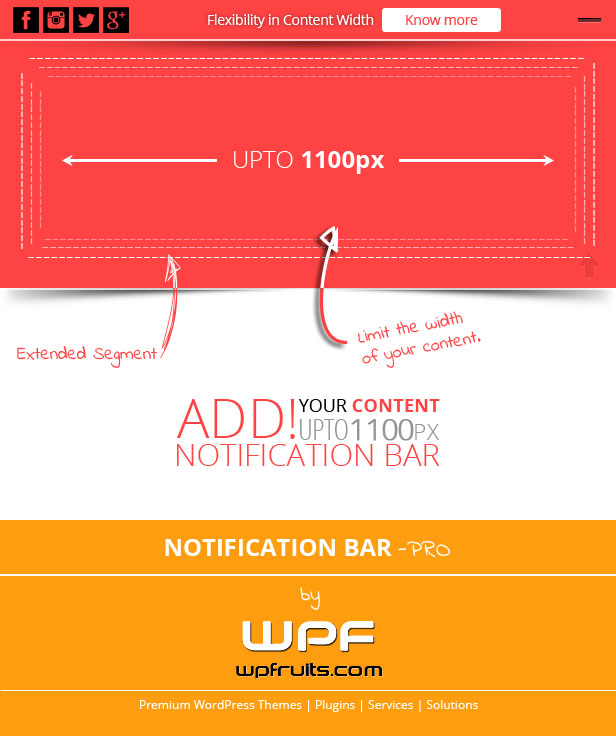
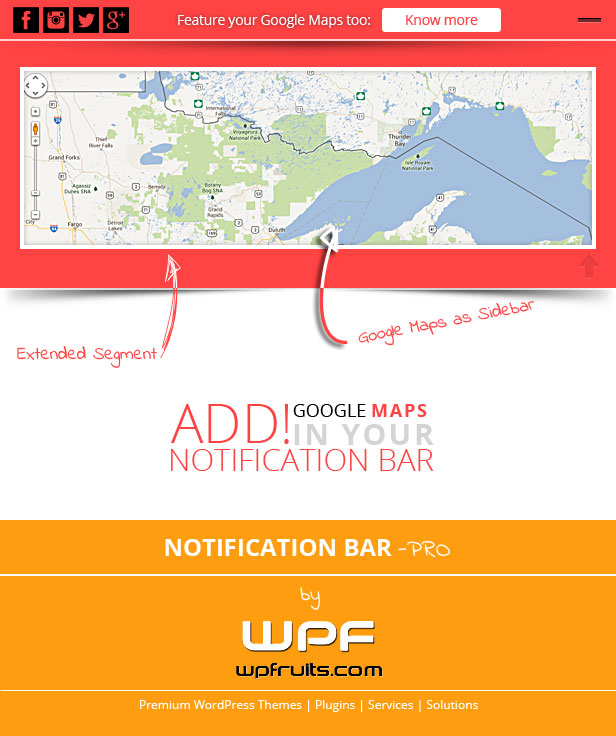
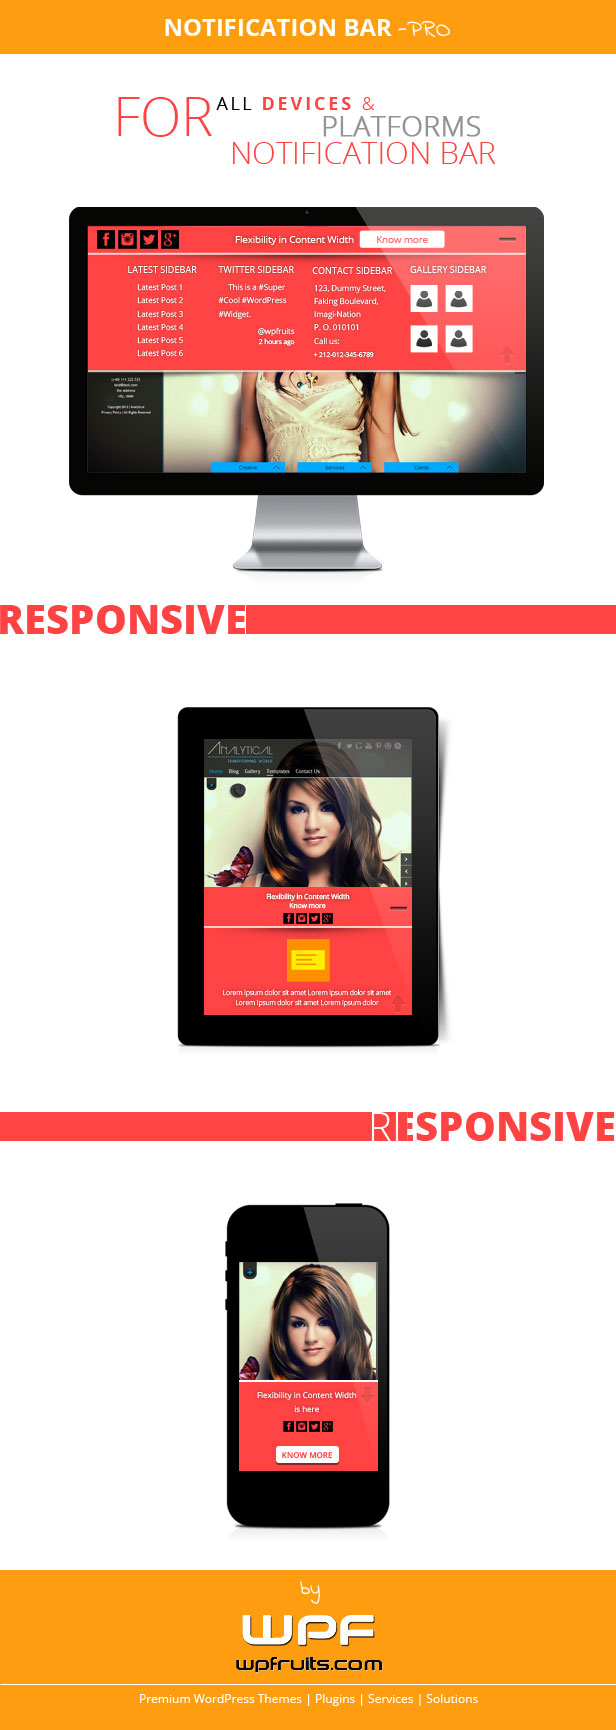
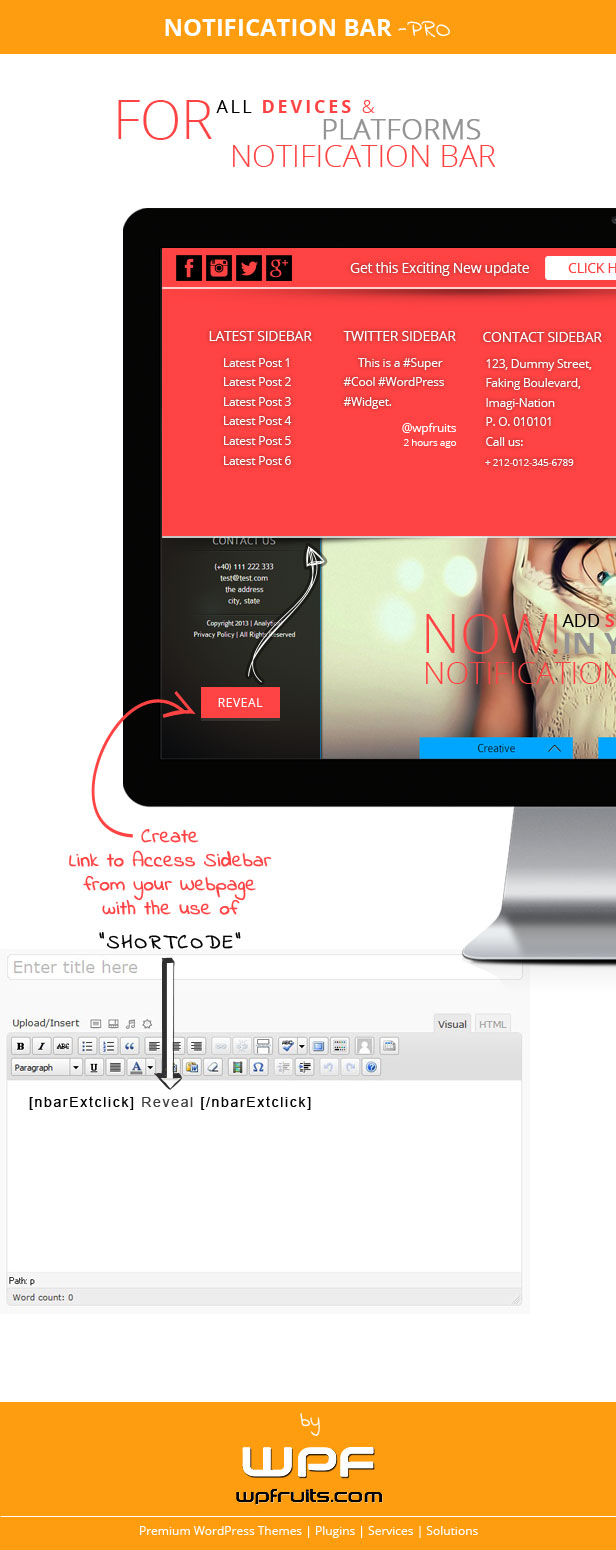
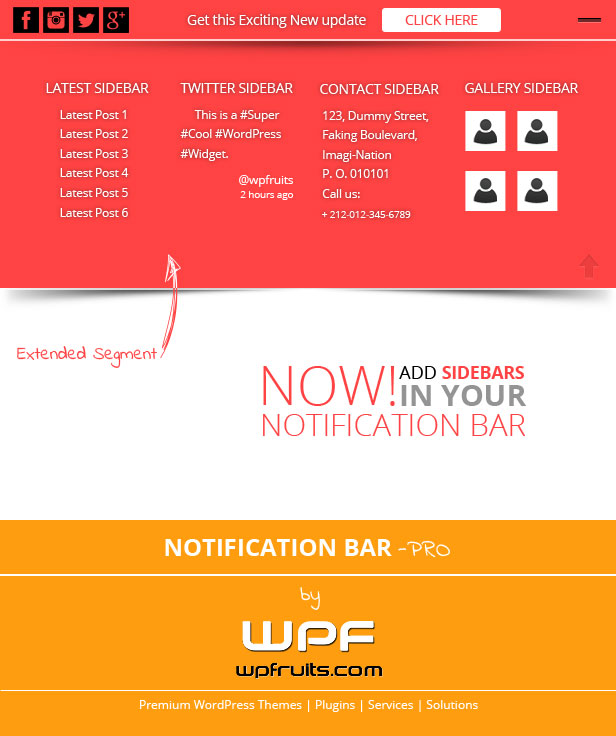
Now use the short code [nbarExtclick]Click Here[/nbarExtclick] and this will create a event to open up the extended bar on click.
You need to upload the zip file to the add plugin option in the backend or you can ftp the plugin files to the wp-contents/plugins folders. Then you need to go to the plugins tab and activate the plugin.
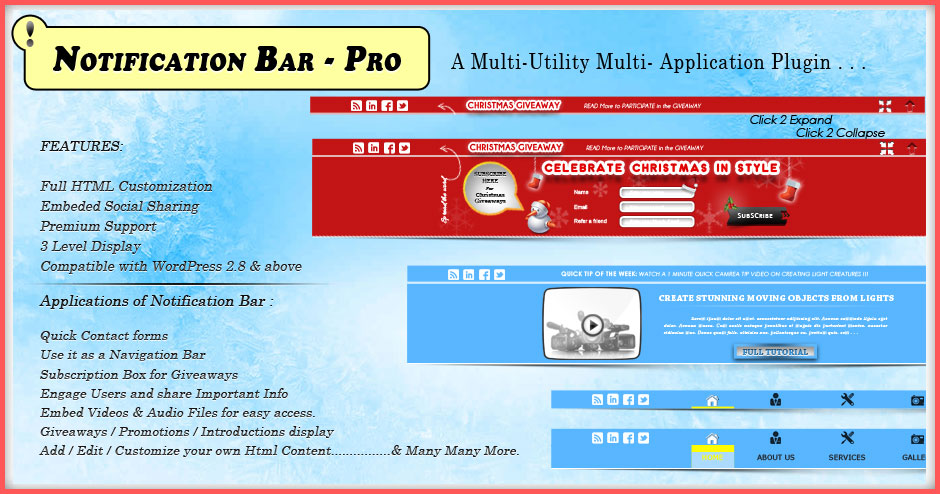
Notification Bar Plugin can be used to create any number of notification bar and you can seamlessly use them on any page as you wish. You have full control. Here are some of the features of the Notification Bar Plugins
- Create Multiple bar and use them as per wish on posts/pages.
- Support to social icons.
- Compatible with all the browsers
- Fully HTML support: You can put any html in the message you want to display. So you can customize it any way you want.
- Extend bar feature: Sometimes the message space is not enough for you. You can use the extend bar feature which will slide down autmatically at the time you set and will slide bar up to the time you set up. So you have an extra space to market your things without irritating the user.
- Enable/disable for a particular post or page
To make settings for the plugin click on the Notification Bar pro tab on the left bottom in the wordpress backend.

On clicking it will take you to the list of the various notification bars that you have created. If you are using it for the first time you see one default created for you there. You should see something like this
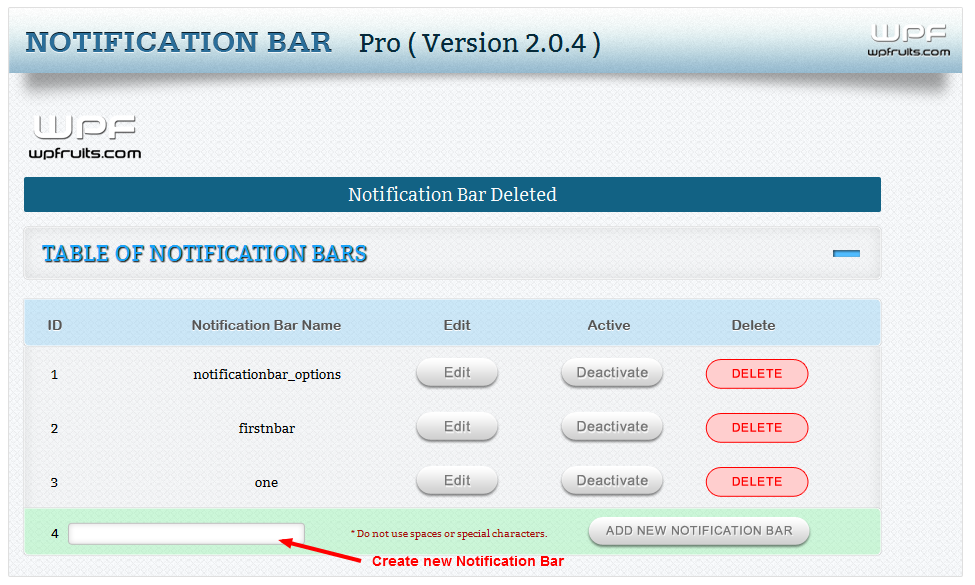
So you can create a new notification bar or you can edit or deactivate any of the existing ones.
Click on Edit and it will take you to the setting options for that particular notification bar.
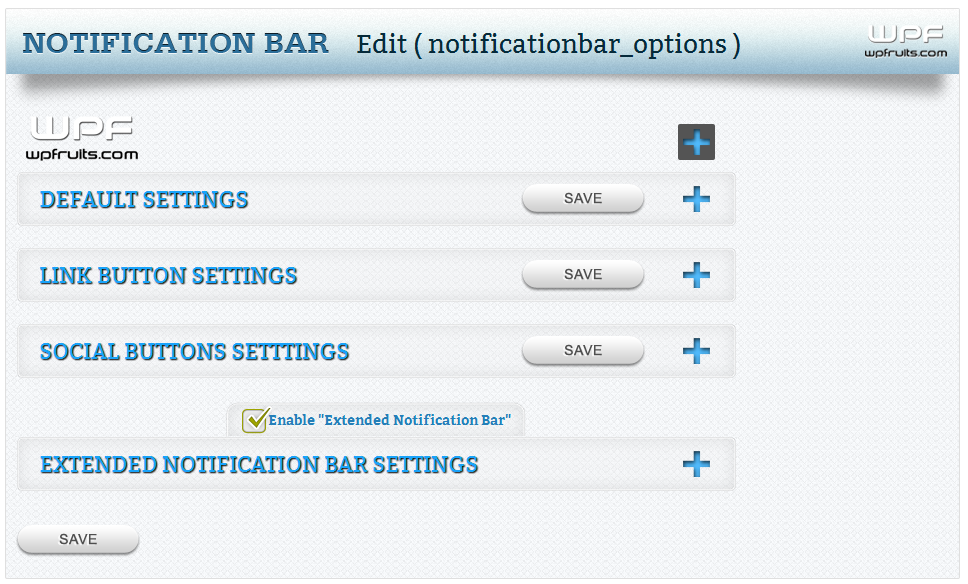
Now you can see you can make settings for the different aspects of the notification bar. We will go through them one by one. Click on the Default Settings tab.
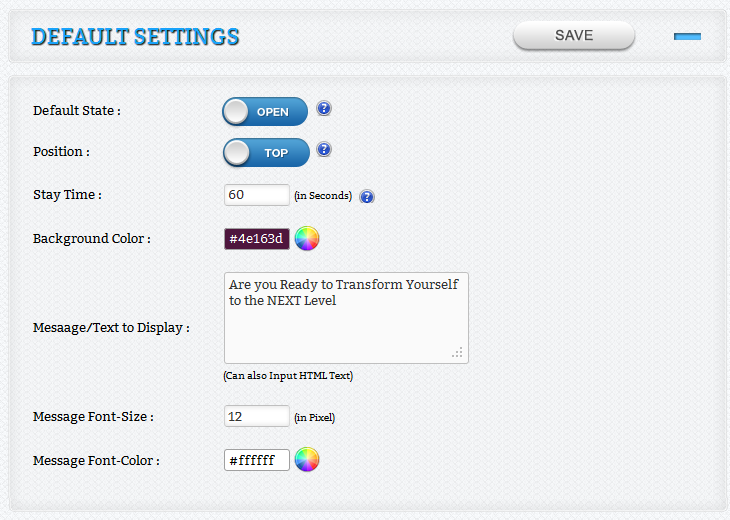
Default State: You can decide whether you want the bar to be opened or closed when the page loads. So you can set it to close and it can slide down say after 6 sec if you set the time to 6 secs or vice versa.
Position: You can put the bar at the top of the page or at the bottom of the page.
Stay Time: This is time in sec when the bar will toggle its position from opened to close or vice versa depending on its default state.
Background Color: Select the color of the bar that you want to. You can set it to any color you want.
Message: Put the message that you want to show to your users. (You can use html tags like bold or strong or any other even divs and inline css)
Message Font Size and Color: Set them to match the look and feel of your website.
Press Save.
Ciick on Link Button Settings.
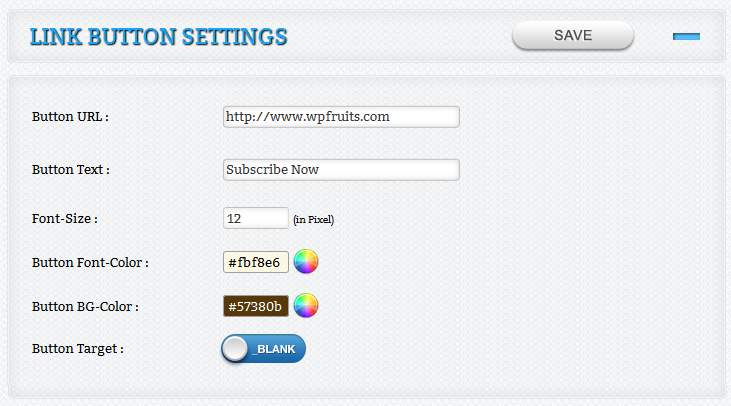
So enter the values for the url where you want the user to take to when they click on the button.
Button Text: This will show up on the button so may be you can try something like Click now or subscribe now or whatever you want it to be.
Other settings for the buttons like font size, button background color and font color and the target so if you want the the link to be opened up in a new tab set the button target to _BLANK.
Press Save and Click on Social Button Settings and enter the value for the social networks that you want to show up on the left of the bar, leave empty if you dont want to show anything.
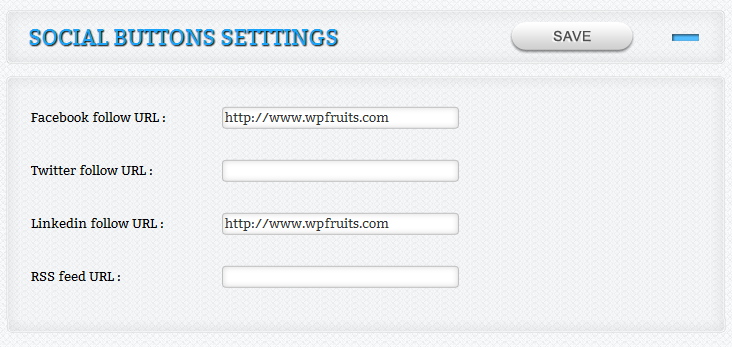
Press Save and you are done with the Basic Settings For the Bar.
So Far we just made the settings for the basic bar which will appear on the top or the bottom of the page and will hide after a few seconds which you will decide. But the most important and useful part of this plugin is the extended bar feature which allows you to show up a extended message to your users asking them to do something or may be show them some extra information or anything you want to conver to your visitors. This will increase your conversion rates by many folds for sure. So how to enable the extend bar feature. While editing a bar you will see a check box saying “Enable Extended Notification Bar” Check it

And you will see the complete panel for the Extended bar
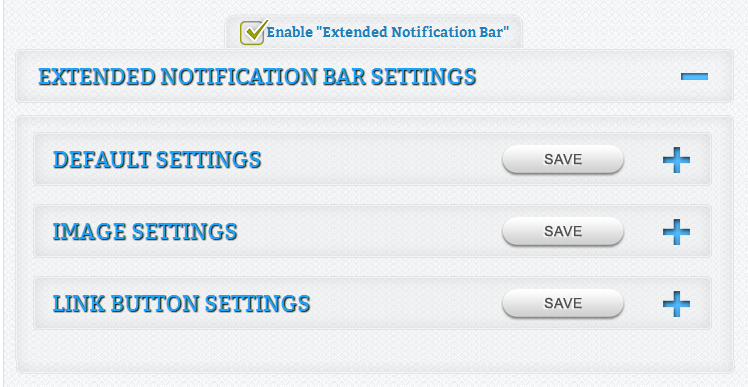
So you can make settings for the extended bar now. Click on the Default Settings Tab:
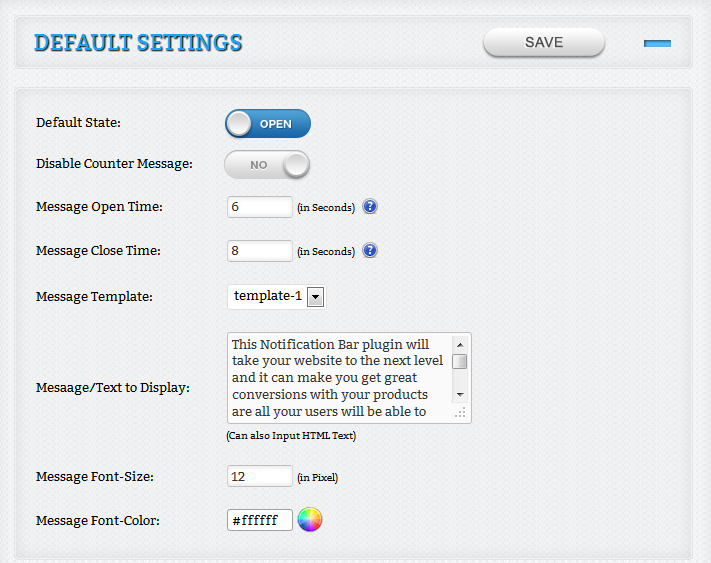
So for the Default settings for Extended bar you have a few settings:
Default State: Default state of the extended bar, whether you want it to be open by default or you want it to be closed by default and then open up after a few seconds.
Disable Counter Message: Counter message will show up on the left if you enable it showing after how many seconds the bar will slide back.
Message open time: Message open time is the duration in seconds after which the extended bar should slider down.
Message close time: This is the time after which the Extended bar will slide back. So suppose you want the extended message to slider down after 8 seconds of the page load and then slider back in another 10 seconds so your message open time will be 8 secs and message close time will be 10 secs.
Message Template: We have three premade template for you.
Template1 which has an image on the left and message on the right.
Template2 which has the image on the right and message on the left
Template3 which has the image at the bottom of the message. So either you can use these template of you can write a custom html in that case select the template 3 and leave the image settings empty.
Message (Font, color and the message): Make the settings for the extended message that you want to show on the extended bar. You can use your own html here, may be a subscription form, or a vedio or an image or ads.
Then comes the image settings and the link button settings for extended message.
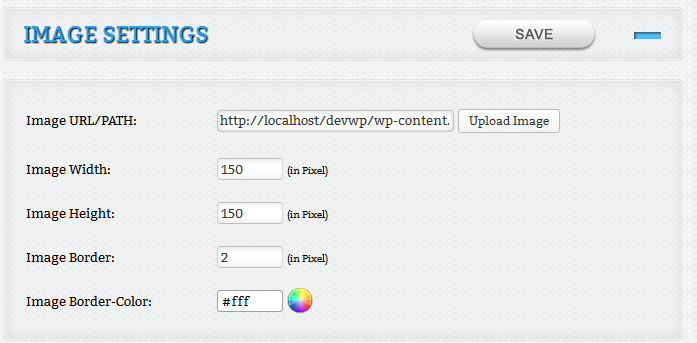
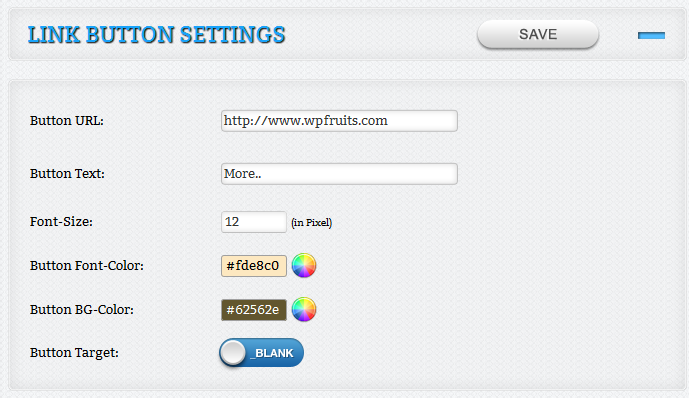
Make the settings and save and you are done with the extended bar option and you are ready to use this bar on your posts and pages and everywhere.
As you may be creating many bars and we need to have a global settings and a default bar that will show up on the pages you intend to use it. This settings is controlled by the global settings options which you can set by clicking the settings options just under the notification bar pro option
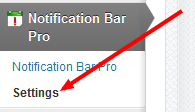
Click on it and it will take you to the Global settings options
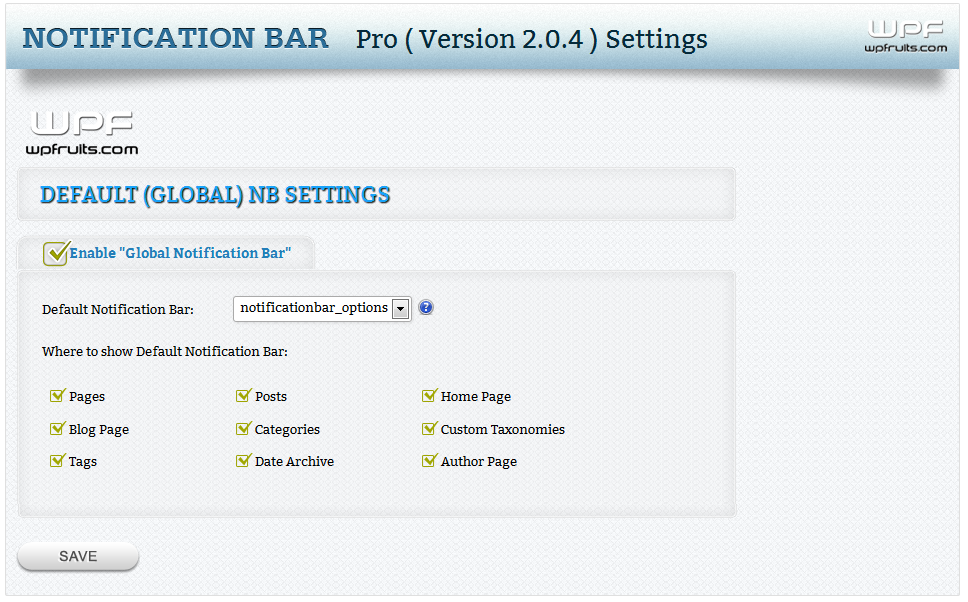
You can completely disable the notification bar by just unchecking the Enable check box and then you can add notification bar to posts and pages manually. But if you want to show them on all the pages you can make settings for the default bar here. Select the default from the bars that you have created and check the options where you want to show the bar by default.
Remember you can override this setting in the post/post editor options for that particular posts/page.
You can override whatever default setings you may have made for the plugin for a particular post or page. Under the post editor you will see an option to do that.

So you can disable the bar here or select one from the ones that you have created for this post/page.
Changelog
== version 3.0.0 ==
27/03/2021

1. Removed inline CSS and added CSS in the separate CSS file.
2. Changed mode to “use strict” in js files.
3. Used  on(); rather than .click(), .bind(), .hover(), .submit(), etc.
4. Used esc_attr__() function on places __() & _e().
5. Used a unique prefix for all function names, custom image sizes, classes, constants, hooks, public/global variables, and database entries to avoid conflict issues with plugins and other themes.
6. Removed @import.
7. Made the demo full working.

== version 2.0.10 ==
12:56 PM 2/5/2016 - WPFruits
1. Enable Shortcodes in the notification bar.

== version 2.0.9 ==
12:36 PM 1/23/2014 - WPFruits
1. Fixed plugin admin settings styles issues with WordPress latest version (3.8).
2. Fixed few warning issues.

== version 2.0.8 ==
9:45 AM 6/28/2013 - WPFruits
1. Added sidebar option under extended message section.
2. Added extened message container width option.
3. Added [nbarExtclick]Click Here[/nbarExtclick] shortocde, Now notification bar can open from any where in page/post content.
4. Fixed some style issues.
5. Fixed layout issue.

== version 2.0.7 ==
1:58 PM 3/13/2013 - WPFruits
1. Updated plugin with responsive style.
2. Fixed some jquery issues.

== version 2.0.6 ==
6:30 PM 2/15/2013 - WPFruits
1. Tested plugin in WordPress (3.0.1 - 3.5.1).
2. Updated ajax saved code.
3. Fixed some style issues.
4. Fixed wp_editor issue.
5. Fixed media upload issue.

== version 2.0.5 ==
7:23 PM 2/7/2013 - WPFruits
1. Updated admin feel and look.
2. Added ajax code to save notification bar data.
3. Added Facebook Like and Google Plus button under the social links block in admin panel.
4. Added plugin pot file.
5. Added Default position option to display notification bar top or bottom.
6. Added wordpress editor to the Extend Message option in admin panel.
7. Fixed some jQuery issues.
Source



Reviews
There are no reviews yet.